
7.23.2020
When the pandemic started and I wasn’t able to work with clients in person, I knew it was time to tackle my long awaited task; my printed photo collection. We had albums upon albums that were in my attic. I know that photos shouldn’t be stored there, but they were put there when we moved to NC and I just didn’t want to deal with them.
After things were settled and I had the space to put the albums on shelves, I had it in the back of my mind that they needed to be organized better. However, the job was just too daunting and I avoided it at all costs.
Now was that time to get the job done! The first thing I did was to gather all of the photo albums together in one place. Preferably, a space that you won’t mind being messy for a while and also one that gives you lots of room to work. Then, I tried to determine what year each album was from. To do this, I looked on the photo front and back for dates. If they didn’t have a date, I tried to find clues in the album to determine what year it was from (like birthday’s with numbers or other big events). I put slips of paper inside the cover of each that were long enough for the dates to show at the top instead of using a post it for fear that it wouldn’t stick! From there, I put them in date order. This was a little tricky because I realized that I was missing an entire year of photos! Thankfully, I found them squirreled away in a cabinet and was relieved to have it all together. Once you have the albums in year order, you will most likely have more than one for each year.
Take the time to put those in order as well from the beginning of the year to the end of the year. Yay! The first big step was done!

The next step was to remove the photos from the albums. For this process, I added the names of the people in the photo, tossed many blurry or duplicate pictures, and discarded many scenic photos that didn’t seem as important anymore.

I grouped the photos in batches of 100 and labeled them with the year and 1, 2 or 3 for that year as needed so that they would be ready for the photo container and put a large rubber band around them. I continued to keep them in yearly order. This step took quite a while because I realized that because we got “double prints” back in the day, I had many duplicates. Also, I noticed that I would take photos at an event and a family member would take basically the same photos. So, I kept the ones I thought were best and threw away the rest. Also, I used several trash bags to discard the albums themselves. Let me tell you, they get heavy quickly!
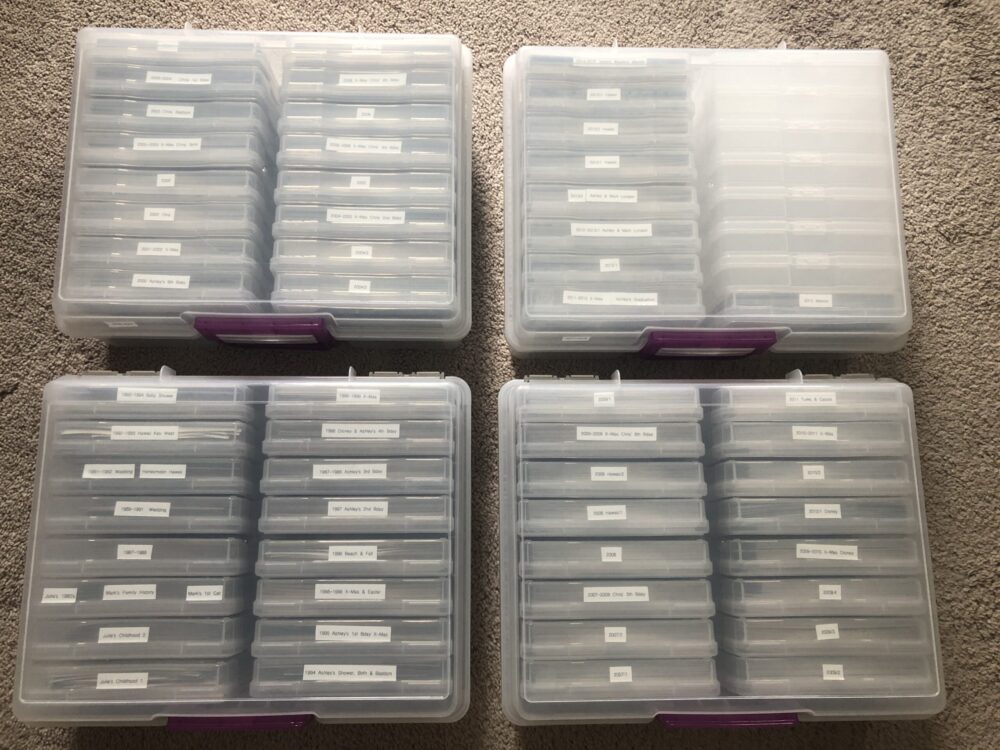
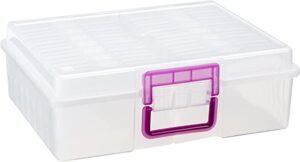
Once all the albums are tossed and you are left with the photo bundles of your favorite photos, I added them to the photo storage containers. You can use cardboard boxes or plastic ones. I preferred these ones from Amazon costing about $26 per case. Each outer case holds 16 photo holders, you can fit about 100 photos in each holder. That’s a grand total of 1,600 photos per case! Amazing!
From there, I put the photos in each case (still had the slip of paper telling me the year and order of that batch) and I filled up my cases. You could label them as you go but I preferred to fill them all then use my label maker at one time to make consecutive labels (mostly because it’s more cost effective that way because it uses less label tape). I added my labels to each container and then labeled the case itself with the date range and tossed all of the paper slips and then my project was complete! Yippy Skippy and Happy Dance!


How long did the process take? Well that is hard to say exactly! I was not in a rush to get it done and sometimes worked on it very diligently and other times, I didn’t want to even think about it. If I would have applied my time to it 100%, I probably would have finished it in three to four weeks.
The part that I enjoyed the best was reminiscing. I adored having that time to see pictures of my family when everyone was younger. I also loved the different events that I got to experience again. There were many photos that I took pictures of and texted the memory to a friend or family member. I even had the opportunity to share some photos of a friend that had passed away with her family so that they could enjoy them too! It also brought me great joy to toss the empty albums (goodbye bulky storage) and I loved labeling the containers (just having everything look neat makes me happy!)
I wish I would have taken a moment to count how many albums and containers of photos that I started with. I thought I would be able to tell from the pictures but the piles are just too large. My guess would be that I went from approximately 50 books/containers of photos down to 4 containers and one isn’t even completely full! My daughter even thanked me for reducing the excess now so that someday she won’t have to! I am so happy to have my photos easily stored in a closet in their neat little containers in date order and available for me and my family to enjoy whenever we feel like flipping through some! I encourage you to take that time and tackle your photo project too and remember, if that I’m always here to help if you are overwhelmed by it!
